By Kristina Gabalski
Starting seeds indoors takes preparation and patience. There are many things that can go wrong. Here are some tips and tricks for successfully getting from seed to garden transplant.
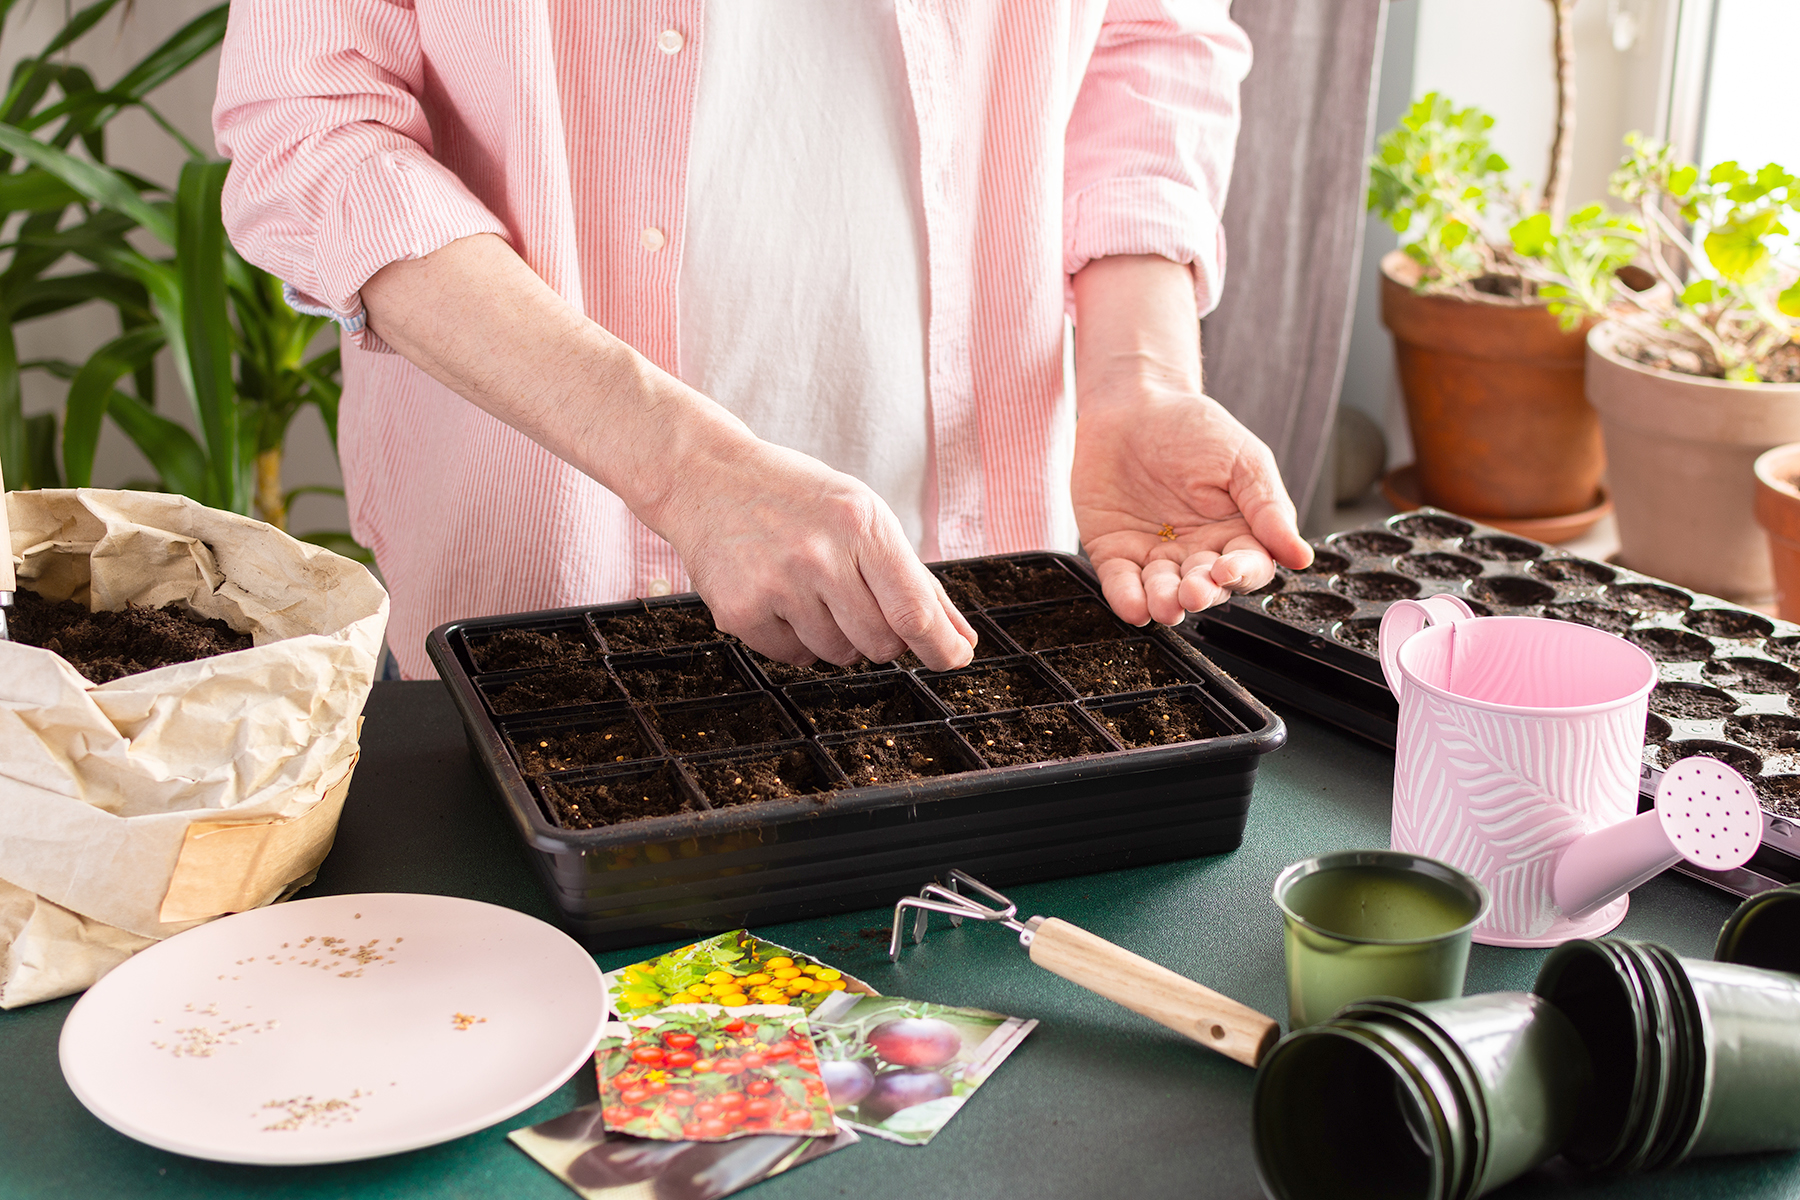
Diseases like damping off can kill seedlings. Damping off is caused by soil-borne fungi and commonly occurs when seeds are started in cool, wet soil. Young plants affected by damping off will collapse at the base and die. Prevention is very helpful when dealing with damping off. The University of Illinois advises using new, well-drained, sterile potting or seed starting mix and sterilizing any pots or trays you are using from previous years. To sterilize, soak for 30 minutes in a 10 percent bleach solution. If you have had damping off issues in the past, it may be best to purchase new pots and trays. Be careful not to overwater. Wet soil is a breeding ground for pathogens. Plant your seeds at the proper depth recommended on the seed package. Some seeds need light to germinate and should be placed on the potting mix and gently pressed to make contact with the soil.
The proper growing conditions are so important for seeds. Regarding moisture, uniform moisture is needed for seed germination. If you have a seed starting kit with a plastic dome, use it to maintain moisture until the seeds germinate. Plastic bags can be used over containers for the same purpose; just remove them once plants have germinated to avoid problems with disease and overly wet conditions.
The temperature of the growing medium should be in the 70-75 degree F range. In cooler conditions, seeds will germinate more slowly and may be more susceptible to damping off. Place seeds in a warm area or use a seed-starting heat mat.
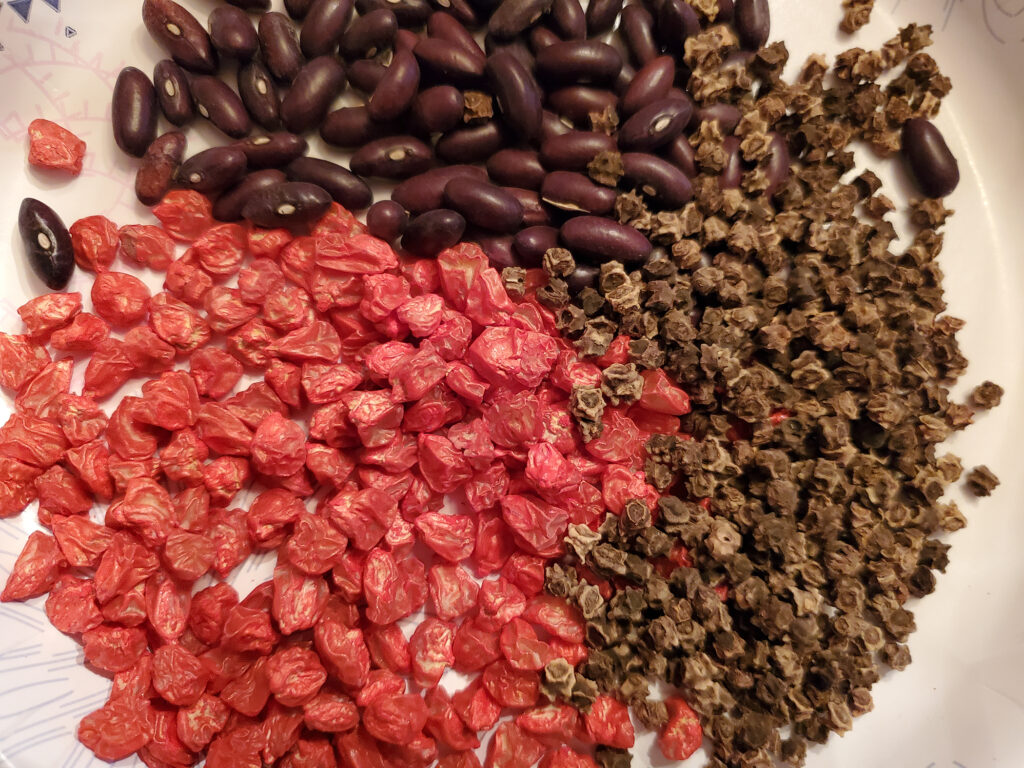
If you are using seeds saved from previous years, do a germination test before using them; some seeds remain viable for only one year. The University of Illinois says to place at least 10 seeds on a damp paper towel. Fold the paper towel over the seeds, place them in a plastic bag, and seal. Write the seed type and date on the bag and place it in a warm spot. Check for germination in 7 to 10 days. You can calculate the germination percentage by counting how many seeds have germinated.
Check to see if your seeds need stratification. Seeds that do not germinate may not have had proper seed stratification. Some seeds need exposure to cold for a certain time period, while some need abrasion (scarification) or soaking. This helps the seed break dormancy. Read seed packages carefully, as they will contain details regarding seed stratification.
The University of California notes that seedlings can also become tall and lanky after being planted too early. Seed packets again are the best guide. Some plants, such as lettuce, will be ready to be transplanted in cooler weather, but tomatoes and peppers cannot be put outside until all danger of frost is past. Strong plants that have been planted at the right time will thrive, as they have not lingered too long inside. Make sure your seedlings get plenty of light – you may need to place grow lights just a few inches above the plants. Gentle air movement after seeds have germinated can also help keep them healthy. To do this, set a small fan on low in the area of the seedlings – but not blowing directly on them – to move air gently around the room.